

DB+
Roof reburbishment from the outside
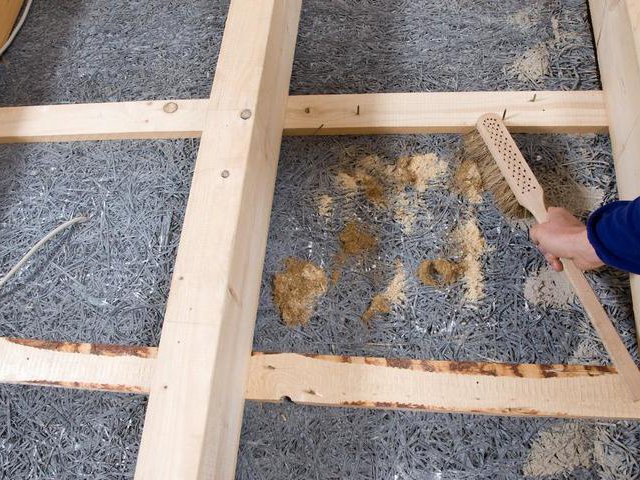
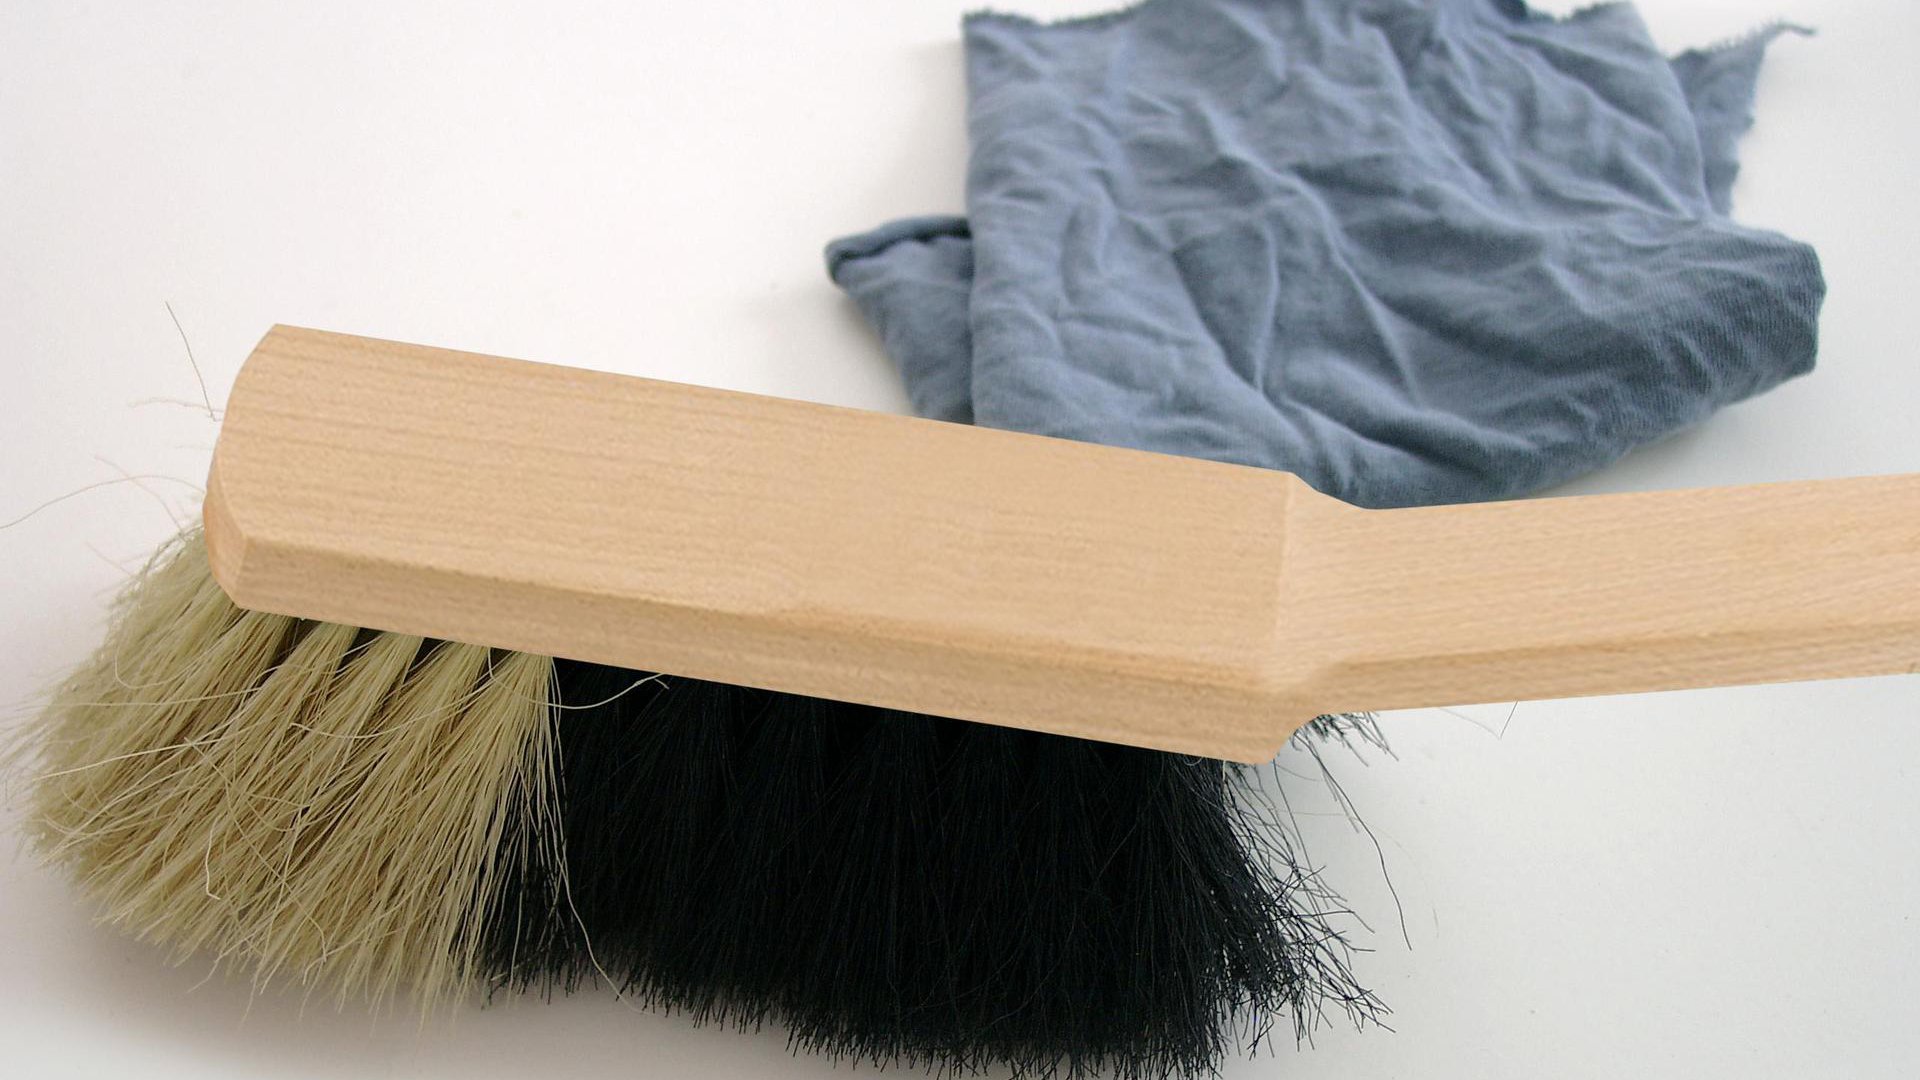
1a. Clean the subsurface
Clean the subsurface. Brush off with a hand brush, ...
1a. Clean the subsurface
Clean the subsurface. Brush off with a hand brush, ...
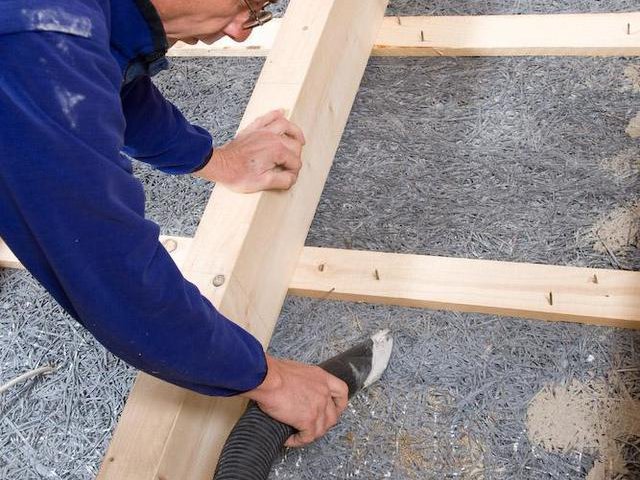
1b. Clean the subsurface
... if necessary, clean with a vacuum cleaner and wipe down.
1b. Clean the subsurface
... if necessary, clean with a vacuum cleaner and wipe down.

2. Preparation
Remove any sharp-edged or pointy objects (e.g. nails) that protrude from the interior cladding into the area between the rafters.
2. Preparation
Remove any sharp-edged or pointy objects (e.g. nails) that protrude from the interior cladding into the area between the rafters.

3. If necessary, insert padding
To protect DB+, install panel-shaped insulating material with a strong structure on the existing interior cladding. The thickness of the insulation underneath DB+ should be a max. of ⅓ of the total insulation thickness.
3. If necessary, insert padding
To protect DB+, install panel-shaped insulating material with a strong structure on the existing interior cladding. The thickness of the insulation underneath DB+ should be a max. of ⅓ of the total insulation thickness.
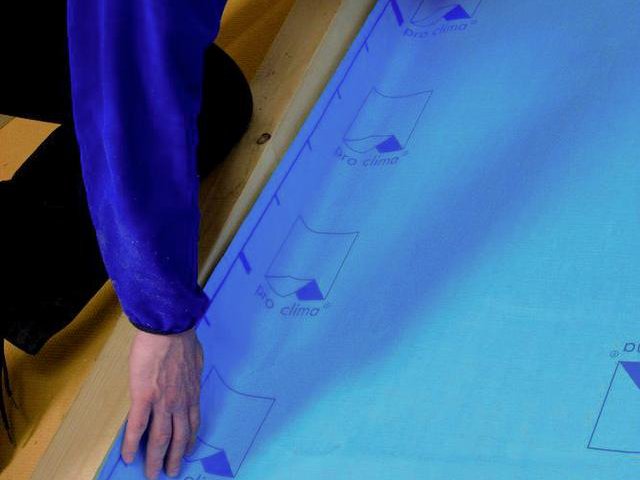
4a. Install the membrane
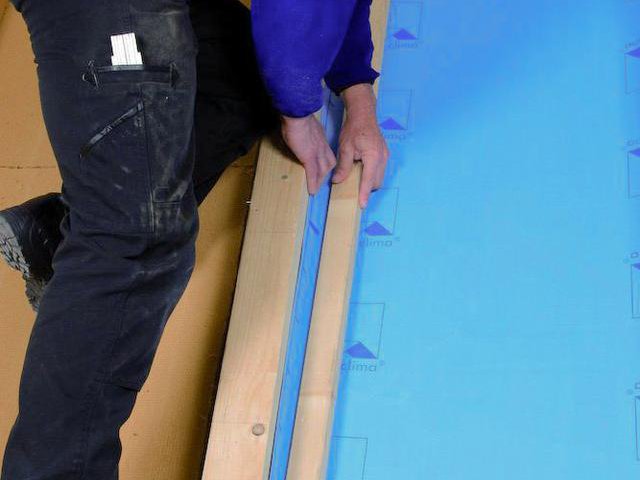
Roll out the membrane parallel to the rafters, align it, allow an extra 3-4 cm (1¼″ - 1⅝″) at the sides of the rafters and press neatly into the corners with an auxiliary lath.
4a. Install the membrane
Roll out the membrane parallel to the rafters, align it, allow an extra 3-4 cm (1¼″ - 1⅝″) at the sides of the rafters and press neatly into the corners with an auxiliary lath.
4b. Install the membrane
Avoid convection tunnels. Install the membrane leaving an additional 4 cm (1⅝″) overlap at adjacent building structures too so that an airtight bond can be applied here subsequently.
4b. Install the membrane
Avoid convection tunnels. Install the membrane leaving an additional 4 cm (1⅝″) overlap at adjacent building structures too so that an airtight bond can be applied here subsequently.
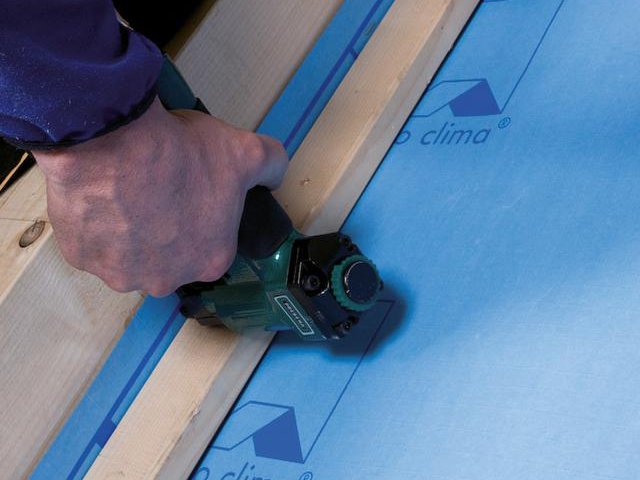
5. Fix to the rafters
Fasten the membrane using galvanised staples with a width of at least 10 mm (⅜″) and a length of 8 mm (⁵⁄₁₆″) at intervals of 10-15 cm (4″-6″). The auxiliary lath that can be moved freely can serve as a support for the pneumatic staple gun and protects the membrane against damage.
6a. Clean the subsurface
Clean the subsurface (dry and free of dust, silicone and grease). If necessary, brush off, clean with a vacuum cleaner and wipe down. Very fine dust can be bound by applying TESCON PRIMER.
6a. Clean the subsurface
Clean the subsurface (dry and free of dust, silicone and grease). If necessary, brush off, clean with a vacuum cleaner and wipe down. Very fine dust can be bound by applying TESCON PRIMER.
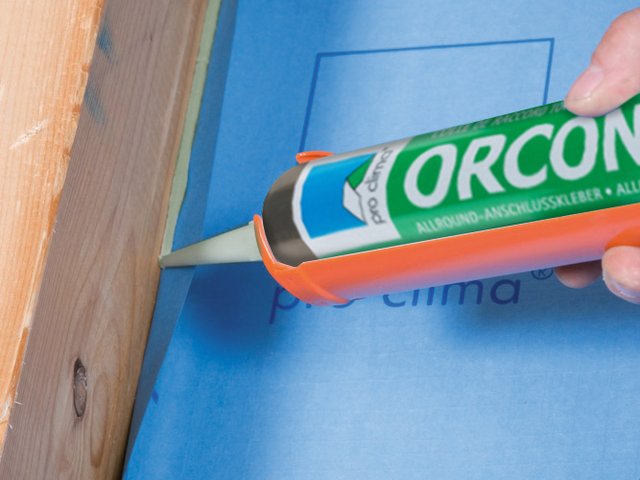
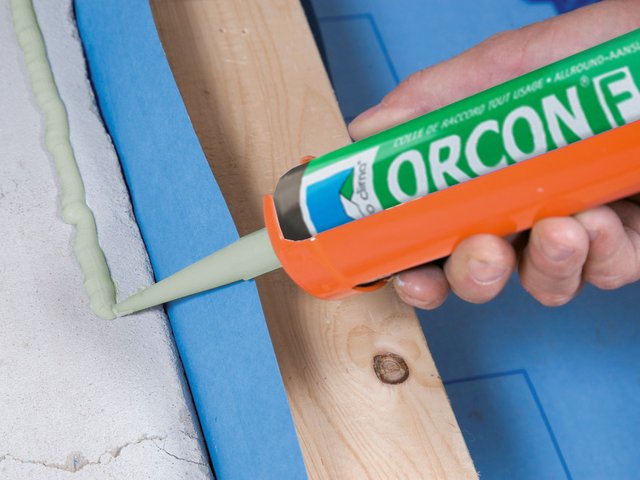
6b. Seal at the rafters in an airtight manner
Apply a line of ORCON F adhesive sealant of at least d = 5 mm (³⁄₁₆″) to roughly sawn rafters, or more in the case of very rough subsurfaces if necessary, and stick the membrane to this.
6b. Seal at the rafters in an airtight manner
Apply a line of ORCON F adhesive sealant of at least d = 5 mm (³⁄₁₆″) to roughly sawn rafters, or more in the case of very rough subsurfaces if necessary, and stick the membrane to this.
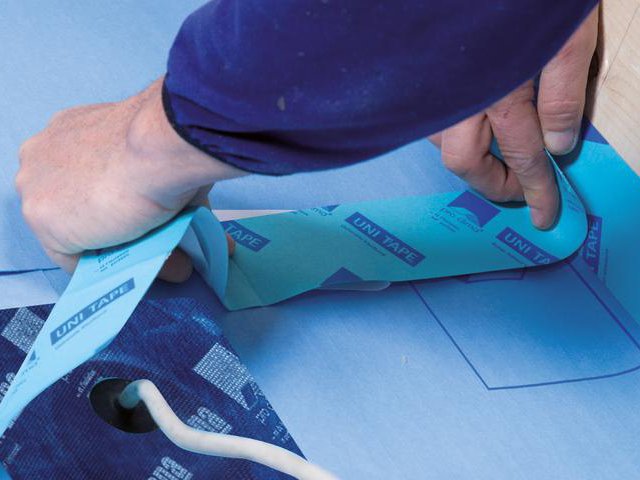
7. Sealing to smooth rafters
Bond to smooth/planed rafters using the UNI TAPE universal adhesive tape. Apply the adhesive tape centrally and gradually stick it in place. Rub firmly using the PRESSFIX application tool to secure the adhesive bond. Ensure that there is sufficient resistance pressure.
The subsurface must be suitable for permanent sealing.
If necessary, brush off, clean with a vacuum cleaner and wipe down. Very fine dust can be bound by applying TESCON PRIMER.
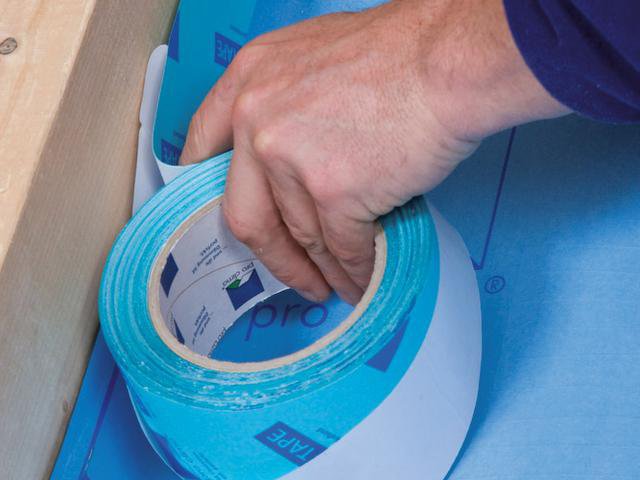
8. Membrane overlaps, if necessary
Allow for an overlap of at least 10 cm (4″) between the membranes. Centre the UNI TAPE system adhesive tape on the overlap and gradually stick it in place, ensuring that there are no folds or tension. Rub firmly using the PRESSFIX application tool to secure the adhesive bond. Ensure that there is sufficient resistance pressure.
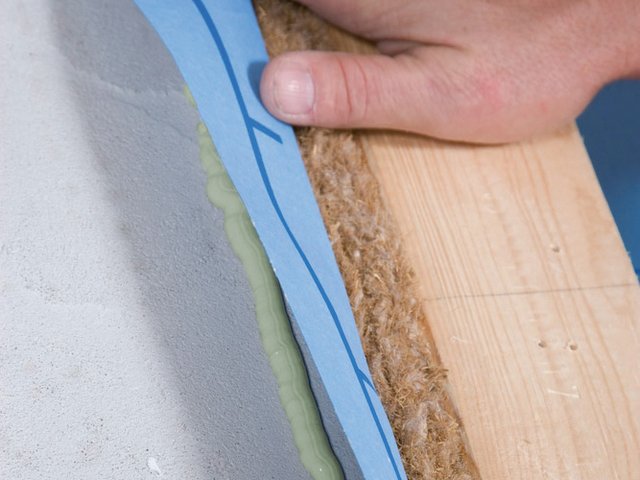
9. Sealing at the bargeboard
First create a smooth finish on rough wall caps. lean the subsurface. Apply a line of ORCON F adhesive sealant of at least d = 5 mm (³⁄₁₆″) , or more in the case of very rough subsurfaces if necessary.
9. Sealing at the bargeboard
First create a smooth finish on rough wall caps. lean the subsurface. Apply a line of ORCON F adhesive sealant of at least d = 5 mm (³⁄₁₆″) , or more in the case of very rough subsurfaces if necessary.
10. Sealing at the bargeboard
Place DB+ onto the adhesive bed, leaving slack to allow for expansion. Do not press the adhesive completely flat.
10. Sealing at the bargeboard
Place DB+ onto the adhesive bed, leaving slack to allow for expansion. Do not press the adhesive completely flat.

11. Sealing at eaves
Sealing to the eaves is carried out analogously to the joint at the bargeboard.
11. Sealing at eaves
Sealing to the eaves is carried out analogously to the joint at the bargeboard.
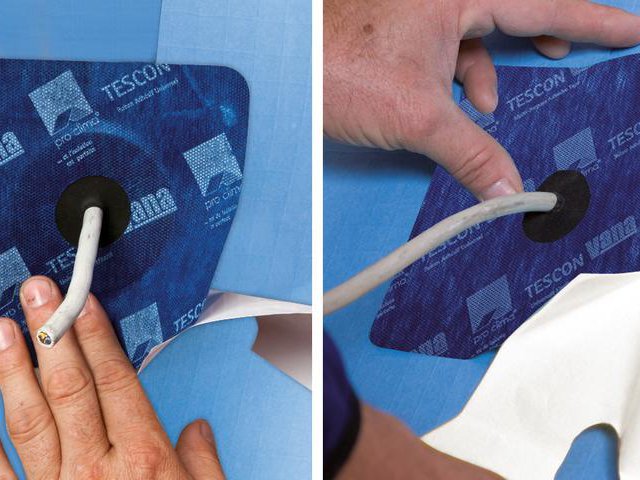
12. Sealing around pipes and cables
Place a KAFLEX or ROFLEX sealing grommet over the cable or pipe and stick it to DB+. The cable grommets are self-adhesive.
12. Sealing around pipes and cables
Place a KAFLEX or ROFLEX sealing grommet over the cable or pipe and stick it to DB+. The cable grommets are self-adhesive.
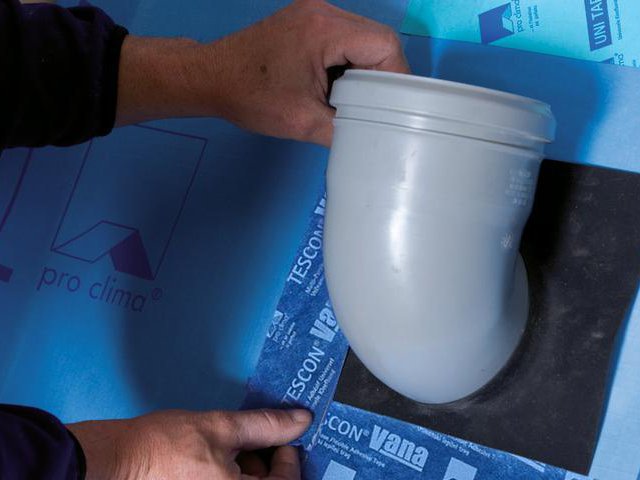
13. Sealing around pipes
Tape the pipe grommets to the membrane using TESCON VANA. Rub firmly using the PRESSFIX application tool to secure the adhesive bond. Ensure that there is sufficient resistance pressure.
13. Sealing around pipes
Tape the pipe grommets to the membrane using TESCON VANA. Rub firmly using the PRESSFIX application tool to secure the adhesive bond. Ensure that there is sufficient resistance pressure.
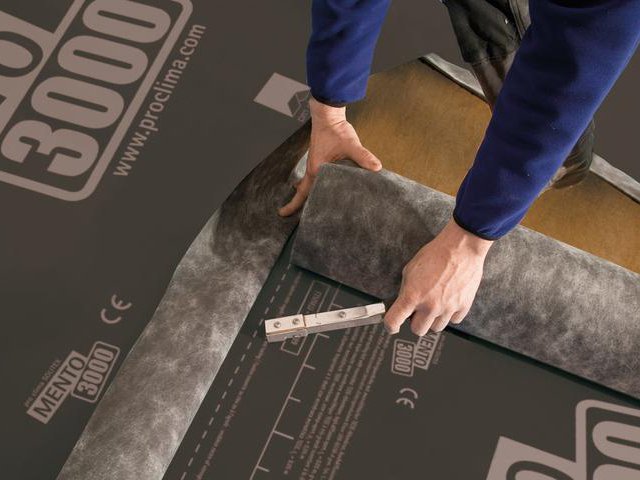
14. Compartment insulation and underlay
The next step is to insert the insulation and install the underlay, e.g. SOLITEX MENTO 3000. Insulation cover for rafters is possible as an option, but is not required.
14. Compartment insulation and underlay
The next step is to insert the insulation and install the underlay, e.g. SOLITEX MENTO 3000. Insulation cover for rafters is possible as an option, but is not required.